
Contents
You shut off the water, you stop the spread, and you limit the damage. Burst Pipe Restoration begins once the leak is controlled, with standing water removed quickly, wet walls and floors dried thoroughly, and every affected surface treated before mold takes hold. The repair work only works if moisture levels stay stable, materials are replaced correctly, and the plumbing issue doesn’t return. Each step affects the next, and the details matter.
Key Takeaways
- Shut off the main water supply immediately and locate the burst pipe source.
- Remove standing water quickly with pumps, wet vacs, or mops.
- Dry walls, floors, and hidden spaces using airflow and dehumidifiers.
- Clean affected surfaces and disinfect to prevent mold growth.
- Repair plumbing, replace damaged materials, and restore finishes after moisture drops.
Shut Off the Water Leak
The first thing you should do is shut off the water leak at its source, and if possible, close the main water valve immediately.
Then check the visible pipe run and nearby fittings for the exact break point. If you can’t locate it fast, use leak detection by tracing moisture, spray, or sound along the line.
Keep everyone clear of wet flooring and energized equipment while you work.
In emergency preparedness, you and your household should know where the shutoff valve sits before a failure happens. If the valve won’t turn, don’t force it; you could worsen the damage.
Contact a plumber or restoration team right away and document the leak location for faster response. This quick action helps your crew stay safe and organized.
Remove Standing Water Fast
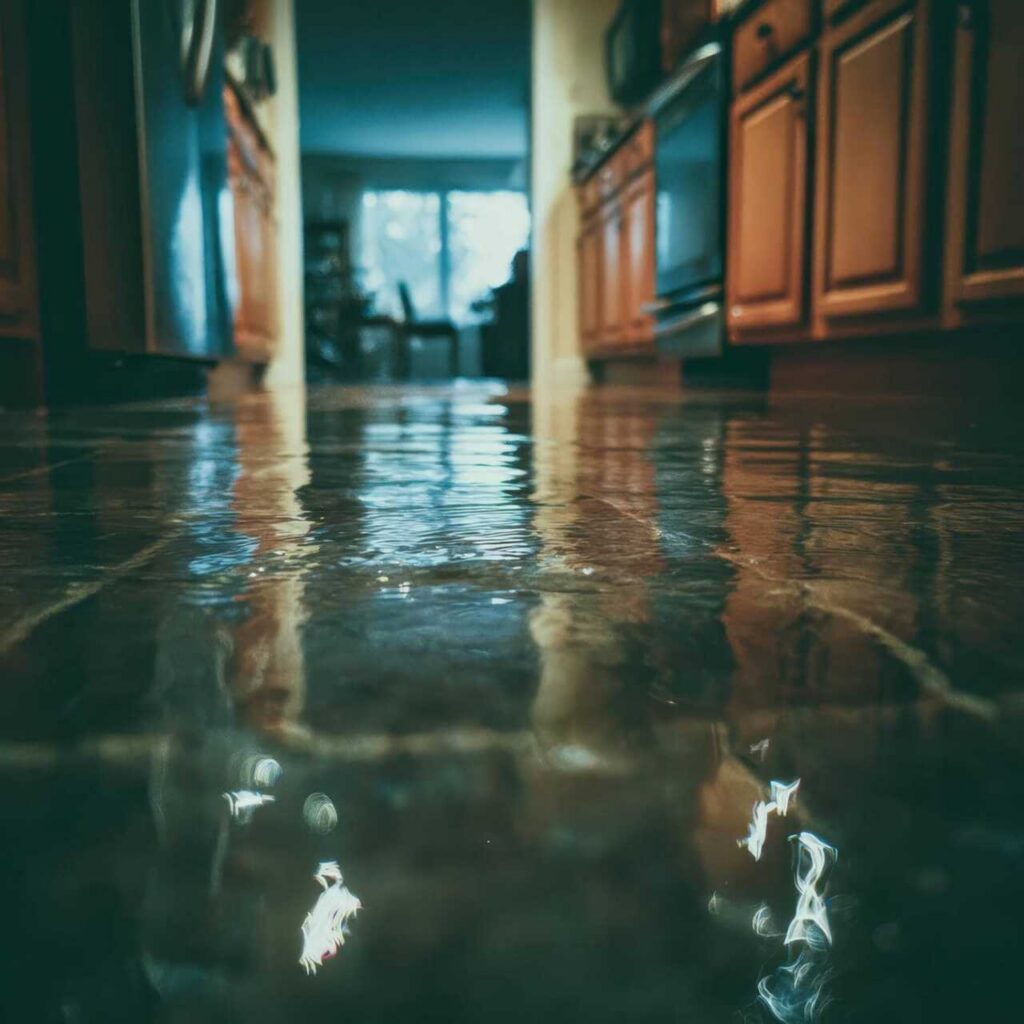
Once the leak is controlled, remove standing water as quickly as possible to limit structural damage and mold growth. You should launch your emergency response with pumps, wet vacs, or absorbent mops, depending on the depth and spread.
Use water extraction methods that match the surface: a submersible pump for pooled water, a shop vacuum for residual water, and towels for tight corners. Move furniture and rugs only if it’s safe, and place them in a dry area so you can keep the work zone open.
Check hidden pockets under appliances and inside closets, then extract again. Stay organized, work from the edges inward, and wear boots and gloves.
Quick action helps your team restore the space faster and keeps everyone safer.
Dry Wet Walls, Floors, and Insulation
After water removal, start drying wet walls, floors, and insulation immediately to prevent swelling, delamination, and mold growth. You’ll protect your space and keep the restoration moving.
Use a moisture assessment to locate hidden saturation, then direct airflow and dehumidification to each affected zone. Pull baseboards if needed and expose cavities so materials can dry faster.
- Set fans to move air across surfaces.
- Run dehumidifiers until readings drop.
- Check wallboards, subfloors, and trim daily.
- Remove and schedule insulation replacement when it stays wet.
You don’t need guesswork; you need measured drying and steady checks. Stay consistent, document progress, and keep every surface on track toward safe reassembly.
Clean Water Damage and Prevent Mold
With the major moisture removed and drying underway, clean all affected surfaces to stop contamination from spreading and to reduce mold risk.
You should scrub hard surfaces with detergent and warm water, then rinse and dry them completely. Use EPA-registered disinfectants on nonporous areas if the water was dirty or stayed in place long enough to create biofilm.
For textiles, follow label-safe cleaning or discard items that can’t be sanitized. Keep your water extraction equipment running until puddles, seams, and hidden edges are clear.
Focus on mold prevention by lowering humidity, improving airflow, and checking for damp spots each day.
Wear gloves and a mask, and isolate cleaned zones from traffic so your team stays safe and the space recovers faster.
Repair Plumbing and Restore Surfaces
Next, repair the failed plumbing line before you restore finishes, because any hidden leak will undo the drying work and invite new damage. You’ll inspect pipe materials, cut out damaged sections, and match replacements to the system’s pressure and code requirements.
If you’re unsure, bring in a licensed plumber so your team stays protected and the fix holds.
- Pressure-test the repair before closing walls.
- Replace soaked drywall, insulation, and trim.
- Use restoration techniques that match each surface.
- Prime, seal, and repaint after moisture readings stay stable.
You don’t need to guess; you need a tight, verified repair. When you restore surfaces only after the line is sound, you protect the structure, save time, and keep your space ready for the next step.
Frequently Asked Questions
How Do I Know if the Pipe Burst Caused Hidden Structural Damage?
You’ll know if you see warped floors, cracked drywall, musty odors, or sagging. Schedule a pipe inspection and moisture detection scan. These tests reveal hidden framing damage, giving you confidence and belonging in your repaired home.
Should I Contact My Insurance Company Before Cleanup Begins?
Yes, contact your insurance company before cleanup begins so you can start the insurance claim and document damage. You’ll protect coverage, guide the cleanup process, and stay aligned with your recovery team.
Can I Stay in My Home During Burst Pipe Restoration?
Yes, you can stay if your home safety isn’t compromised. During the restoration process, you’ll need dry zones, safe utilities, and limited access. If mold, electrical hazards, or structural damage exist, you shouldn’t remain there.
When Is It Safe to Turn the Water Back On?
You can turn the water back on once repairs finish, a pipe inspection passes, and water pressure stays normal. Like a gate swinging open, restore flow slowly, then check for leaks and shutoffs.
How Long Does a Professional Restoration Usually Take?
You’ll usually see a professional restoration take one to five days, depending on damage. Your emergency response speeds drying, while the restoration timeline can extend if walls, flooring, or mold mitigation need extra work.
Summary
A burst pipe can feel like a disaster, but it’s also your fastest lesson in emergency plumbing. If you shut off the water, remove standing water, dry materials, clean surfaces, and repair damage in the right order, you cut down on mold, rot, and costly delays. Don’t let “just a little leak” become a major rebuild. Act quickly, stay methodical, and you’ll restore your space before water gets the last word.
Recent Posts
How to Fix Storm Water Damage
You can fix storm water damage yourself if you act fast and methodically. First, stop
5 Ceiling Leak Mold Inspection Tips
A ceiling stain can be a warning flag, signaling hidden water paths above. Ceiling Leak
What Is Mold Inspection After Water Damage?
A damp wall can hide more than a stain after water damage. When you schedule