
Contents
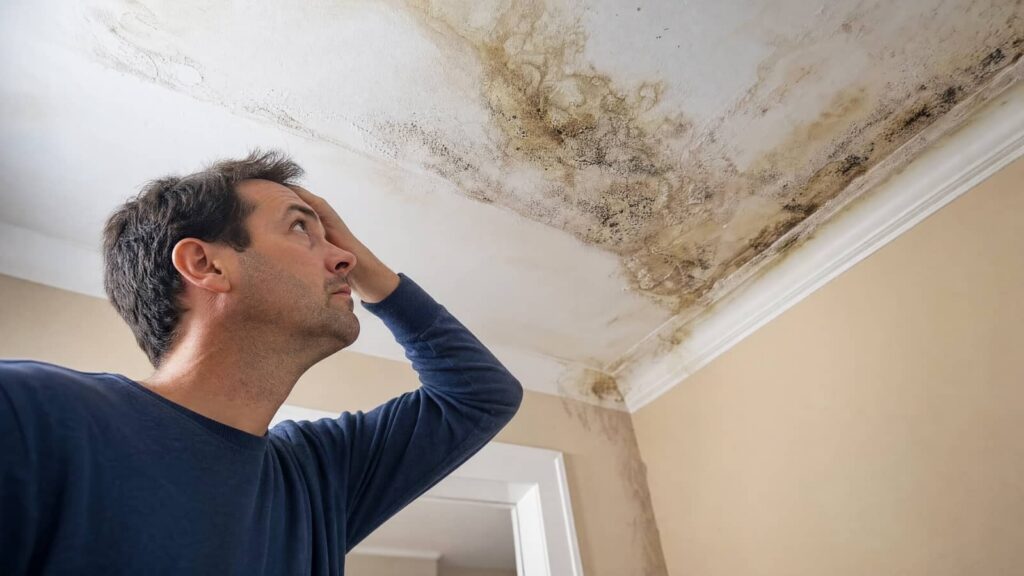
A damp stain spreads across the ceiling like a warning signal, and you need to act quickly. Mold Inspection After Leaks starts by locating the moisture source, inspecting hidden ceiling damage, and testing likely mold hotspots in walls and floors. Use consistent methods, note odors and discoloration, and document every affected area. The right sequence can limit spread and determine whether the damage stays visible or starts somewhere you can’t yet see.
Key Takeaways
- Stop the leak, remove standing water, and ventilate the area to slow mold growth.
- Inspect ceilings, walls, and hidden spaces for stains, sagging, soft spots, and joint separation.
- Trace plumbing, roofing, and HVAC paths to identify the moisture source before testing mold.
- Use moisture meters and consistent sampling methods to check high-risk spots like corners, bases, and window surrounds.
- Document photos, readings, odors, and repairs carefully for comparison and insurance claims.
What to Do After Finding a Leak
Once you find a leak, shut off the water source if you can, document the damaged area, and remove any standing water right away.
You should keep the space safe by limiting foot traffic and using gloves if you need to handle wet materials. Open windows or run ventilation to reduce humidity, and move dry belongings out of the affected area.
Check nearby surfaces for visible staining or swelling, then clean hard, nonporous items with approved products. These preventive measures help reduce health risks and support a faster recovery.
If materials stay damp for more than 24 to 48 hours, you’ll need prompt professional evaluation.
Stay organized, keep records, and follow a consistent response so your next inspection starts from a controlled, well-managed condition.
Locate the Moisture Source Before Testing
Before you collect mold samples, identify and stop the moisture source so testing reflects the actual conditions behind the damage.
You should begin with a structured leak assessment, tracing plumbing lines, roofing interfaces, HVAC condensate paths, and any recent repairs.
Use moisture detection tools to map elevated readings, then compare affected and unaffected areas to isolate the origin.
If you skip this step, you may measure residual dampness instead of the active problem, which can distort results and delay corrective work.
Keep detailed notes on each reading, odor, stain, and surface condition, and share them with your inspection team so everyone works from the same evidence.
Once you’ve confirmed the source is controlled, you can test with confidence and move forward as a coordinated team.
Inspect the Ceiling for Hidden Water Damage
Inspect the ceiling for subtle signs of concealed water damage, especially after a leak event. You should map stains, discoloration, sagging, and joint separation across the surface.
Check ceiling materials for texture changes, soft spots, and swelling at seams or fasteners. Use inspection tools such as a moisture meter, flashlight, and mirror to examine edges, vents, and fixture cutouts without disturbing the assembly.
Record any irregularity with location and size so your team can compare findings consistently. If the finish looks intact, don’t assume the cavity is dry; hidden damage often appears first as slight paint distortion or a faint odor.
Stay methodical, because careful ceiling review helps your group identify conditions that need prompt follow-up.
Test Mold Hotspots in Ceilings, Walls, and Floors
Test the highest-risk areas first, including ceiling corners, wall bases, window surrounds, and any floor sections near the leak path, where moisture and mold growth often concentrate.
You should sample each hotspot with consistent testing methods, such as surface swabs, tape lifts, or bulk material checks, so you can compare results across rooms.
Focus on visible discoloration, soft drywall, warped trim, and musty odor zones, because these signs often indicate active colonies.
Identify mold types when possible, since some spores signal prolonged dampness while others reflect recent intrusion.
Work systematically from the wettest zone outward, and keep your process controlled so you can spot patterns that matter.
When you test this way, you’ll build a clear, shared understanding of the damage.
Document Mold Damage for Insurance Claims
As you document mold damage for an insurance claim, record every affected area with dated photos, close-up shots of staining, warping, and visible growth, and wider images that show room context and leak pathways.
You should pair each image with written notes that identify the room, material, dimensions, and moisture source.
Keep samples of receipts, drying logs, and repair estimates in one file so your insurance documentation stays complete and easy to verify.
If you remove items, label them before disposal and preserve any mold evidence that supports the claim.
Use a simple timeline to link the leak, cleanup, and inspection results.
You’ll make the adjuster’s review smoother, and you’ll feel more confident because your record reflects what your home actually needs now.
Frequently Asked Questions
How Soon Should I Inspect for Mold After a Leak?
You should inspect within 24 to 48 hours after a leak; mold can start then. You’ll need leak source identification, dry materials fast, and verify hidden dampness to interrupt the mold growth timeline.
Can Mold Grow Inside Walls Without Visible Stains?
Yes, you can have hidden mold inside walls without visible stains when wall moisture persists. You should inspect promptly, because trapped water can support growth behind drywall, even when the surface looks normal.
Should I Hire a Professional Mold Inspector?
Yes, you should hire a professional mold inspector if you want reliable mold inspection benefits and limited DIY mold detection. You’ll get objective findings, moisture mapping, and safer decisions, especially when hidden growth may affect your home.
What Protective Gear Is Best During Mold Inspection?
You should wear an N95 or P100 respirator, gloves, goggles, and disposable coveralls; this protective equipment limits exposure while you apply inspection techniques, helping you work safely and confidently with your team.
How Often Should I Recheck the Area for New Mold?
You should recheck weekly for the first month, then monthly for three months, especially after rain or plumbing use. Prioritize moisture control, because early mold growth often appears within 24–48 hours in damp areas.
Recap
When you find a leak, you stop, trace the moisture, and inspect the hidden spaces before damage spreads. You check ceiling corners, wall bases, and floors where mold often appears first. You test consistently, note discoloration, and record any musty odor you detect. If the leak and the mold line up, don’t assume it’s minor; hidden growth can be there too. Photograph everything and keep clear records so you can support an insurance claim.
Recent Posts
What to Do After a Ceiling Leak
After a ceiling leak, you need to act fast to limit damage and reduce repair
Why Choose 24/7 Pipe Leak Cleanup
Does immediate 24/7 pipe leak cleanup really reduce total water damage, or does the timing
24/7 Burst Leak Cleanup Guide
When a burst leak hits, you need to act fast and stay methodical. You’ll shut