
Contents
After a ceiling leak leaves a brown stain above your hallway, you need to start leak mold testing fast because mold can begin within 24 to 48 hours. You’ll inspect visible damage, trace the leak source, measure moisture in walls and insulation, and collect swabs or air samples for comparison. Careful documentation and ventilation matter, but hidden damage can still skew the picture in ways you can’t see yet.
Key Takeaways
- Inspect leak-affected areas within 24 to 48 hours for discoloration, musty odors, bubbling paint, or fuzzy growth.
- Trace moisture from visible damage to the highest wet point, checking plumbing, roof penetrations, and attic condensate sources.
- Use a moisture meter, flashlight, and mirror to compare wet areas against adjacent dry sections and hidden wall cavities.
- Take mold swabs and indoor air samples before disturbing surfaces, following proper flow rates, timing, and glove handling.
- Photograph and measure all damage, noting room locations, materials, and conditions for insurance and repair records.
Spot Signs of Mold After a Ceiling Leak
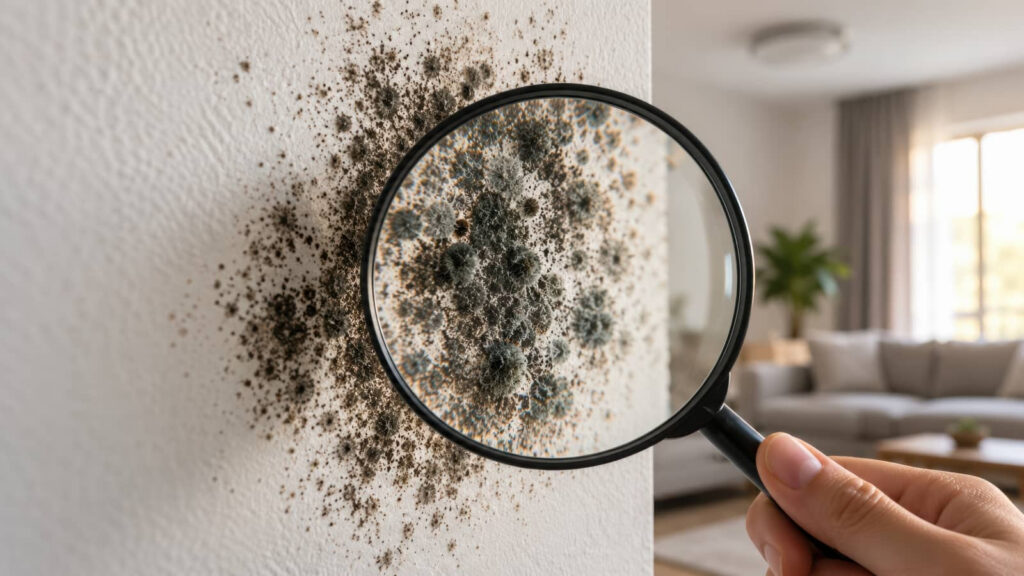
After a ceiling leak, you should inspect the affected area for mold within 24 to 48 hours, since damp drywall, insulation, and framing can support rapid fungal growth.
You can spot early signs by checking for discoloration, water staining, dark speckling, musty odor, or a fuzzy surface on painted or porous materials.
During ceiling leak inspections, use mold identification techniques such as visual comparison, moisture meter readings, and close-range flashlight checks along seams and fasteners.
Look for texture changes, bubbling paint, and sagging drywall, which often indicate prolonged moisture exposure.
If you share the space with others, document findings and keep the area ventilated.
You’re not overreacting; these signs help your household act quickly and limit further contamination.
Find the Leak Source
To find the leak source, trace the moisture path from the visible damage back to the highest wet point, because water often migrates along framing, pipes, roof decking, or wiring before it shows at the ceiling surface.
You should document stains, bulges, and drip lines, then compare them with fixtures above the area.
During leak detection, check supply lines, drain joints, roof penetrations, and attic condensate sources for active seepage.
A focused plumbing inspection helps you confirm whether a valve, trap, or fitting is failing under pressure.
Use a flashlight, mirror, and moisture meter to verify readings at each suspect point.
If you belong to a team managing the repair, share exact locations and timestamps so everyone can act on the same evidence and limit further damage.
Test Moisture in Walls and Insulation
Start by testing the wall cavity and insulation at the highest suspected wet zone, because surface drywall often dries before hidden materials do.
Use moisture meters to compare readings in damaged areas against adjacent dry sections, then document the values. Probe through a small access point if needed, and check both framing and insulation types, since fiberglass, cellulose, and mineral wool retain water differently.
Elevated readings above nearby baseline levels suggest active or residual moisture that can support mold growth. You’ll get the clearest picture by mapping results in a grid and noting temperature, indoor humidity, and material thickness.
If readings stay high after drying, treat the cavity as still compromised and keep your team aligned on the same evidence.
Use Mold Swabs and Air Samples
Once you’ve confirmed moisture, collect mold swabs from visible growth, stain edges, and suspect dust films to identify the organism at the source. Use sterile swabs and clear labels so your sampling techniques stay defensible and repeatable.
For broader evidence, take indoor air samples before disturbing surfaces, then compare them with an outdoor control to see whether mold spores are elevated indoors. Follow the device’s flow rate and time exactly, because inconsistent sampling can skew counts and weaken your case.
Handle each sample with gloves, seal it promptly, and document location, date, and conditions. When you combine swab and air data, you get a sharper, evidence-based profile of contamination, and you can coordinate next steps with confidence as part of a knowledgeable team.
Look for Hidden Moisture Damage
Even when visible mold is limited, hidden moisture damage can persist behind drywall, under flooring, and inside insulation.
So you need to inspect for swelling, discoloration, peeling paint, soft materials, and warped trim. Use a calibrated meter for moisture detection and compare readings across suspect and dry areas to pinpoint anomalies.
Check baseboards, window casings, and plumbing chases, because hidden leaks often travel along framing before you notice staining.
You can also feel for cold spots, damp odors, and spongy surfaces, which often indicate prolonged exposure rather than a recent spill.
If a section reads consistently elevated, mark it and recheck after drying conditions improve. That simple pattern helps you and your team stay aligned, make informed decisions, and catch damage early.
Document Mold Damage for Insurance
After you’ve identified hidden moisture damage, document every affected area before cleanup begins so you’ve got a defensible record for your insurer. Photograph wide shots, then close-ups showing staining, swelling, microbial growth, and the water source, with a date stamp if possible.
Measure each damaged surface, note room names, materials, and visible conditions, and save copies of utility bills, repair invoices, and correspondence. In your mold assessment, record humidity readings, moisture meter values, and any leak timelines to support causation.
Keep originals and back up digital files in cloud storage. Organize everything by location and date so your insurance claims package is easy to review. Clear documentation helps your household present a credible, evidence-based story, and it shows you’re handling the process like a prepared team.
Know When to Call Mold Remediation
If mold growth covers more than about 10 square feet, keeps returning after drying, or appears in HVAC systems, insulated cavities, or behind walls, you should call a professional mold remediation team.
You can handle small surface spots with cleaning, but larger or hidden contamination often means the source moisture remains active.
Trained specialists measure affected materials, isolate work areas, remove contaminated components, and verify drying to reduce spread. This approach lowers health risks from spores, fragments, and musty VOCs, especially if anyone in your home has asthma or allergies.
Use preventive measures such as fixing leaks, controlling humidity, and improving ventilation, yet don’t wait when growth is extensive.
You’ll protect your home faster when you act as part of a prepared, informed community.
Frequently Asked Questions
What Household Items Help Detect Mold Odors?
You can use baking soda, white vinegar, coffee grounds, and activated charcoal to detect mold odors, not mask them. These simple mold detection tools absorb volatile compounds; avoid odor masking agents, which hide evidence.
How Long Does Mold Testing Usually Take?
Mold testing usually takes 15 minutes to 2 hours, depending on testing methods and your site’s size. You’ll get faster results with direct air sampling, while lab analysis can take 1–5 days.
Can Mold Testing Be Done in Cold Weather?
Yes, you can test mold in cold weather; like a patient lantern in winter, you’ll still see hidden signs. Cold weather effects may slow growth, but indoor humidity remains measurable, and testing stays technically valid.
Do Pets React to Hidden Mold Before People Do?
Yes, your pets can show pet sensitivity to hidden mold before you notice mold symptoms, since they’re closer to floors and air particles. You’ll want to watch for coughing, sneezing, scratching, and unexplained lethargy.
What Clothing Should I Wear During Mold Testing?
Wear long sleeves, long pants, closed-toe shoes, gloves, and an N95 respirator; most indoor mold exposure happens during disturbance. Your protective gear should follow testing protocols so you stay safe and included.
Review
You should inspect leak-affected areas within 24 to 48 hours, test walls and insulation with a moisture meter, and collect swabs and air samples before growth spreads. For example, if a ceiling stain reads 18% moisture while a dry room reads 8%, you’ve got a clear target for remediation. Document photos, readings, and conditions carefully so you can support insurance claims and decide when professional mold remediation‘s needed.
Recent Posts
Why Inspect Mold After Water Damage?
Water after a leak can act like a silent fuse, setting mold growth in motion
What Ceiling Leak Mold Testing Reveals
A ceiling stain often tells you less about visible water and more about hidden moisture
24-Hour Pipe Leak Water Cleanup
When a pipe leaks, every minute counts because water can spread into walls, floors, and