
Contents
At 2 a.m., you notice water pooling under your laundry room wall, and you have minutes to act before the damage spreads. A 24/7 water damage cleanup checklist should start with shutting off the source, protecting yourself, and documenting the damage before moving on to water removal and drying. Even after the visible water is gone, hidden moisture, mold, and structural damage can remain behind walls and under flooring. Knowing what to do next can make a bigger difference than you might expect.
Key Takeaways
- Shut off water and electricity if safe, then wear protective gear and ventilate the area.
- Photograph damage, save receipts, and record dates for insurance claims.
- Remove standing water quickly using pumps or wet vacs, and discard soaked materials.
- Check for hidden moisture and mold after drying, especially behind walls and under flooring.
- Repair damaged areas, monitor humidity, and inspect plumbing and drainage regularly.
Stop the Water Source and Stay Safe
First, shut off the water at the source if you can do so safely, then turn off electricity to any affected area if there’s any risk of water reaching outlets, appliances, or wiring.
You should locate the main valve or the nearest fixture valve and stop the water source fast. If you can’t reach it without stepping into standing water, wait for help.
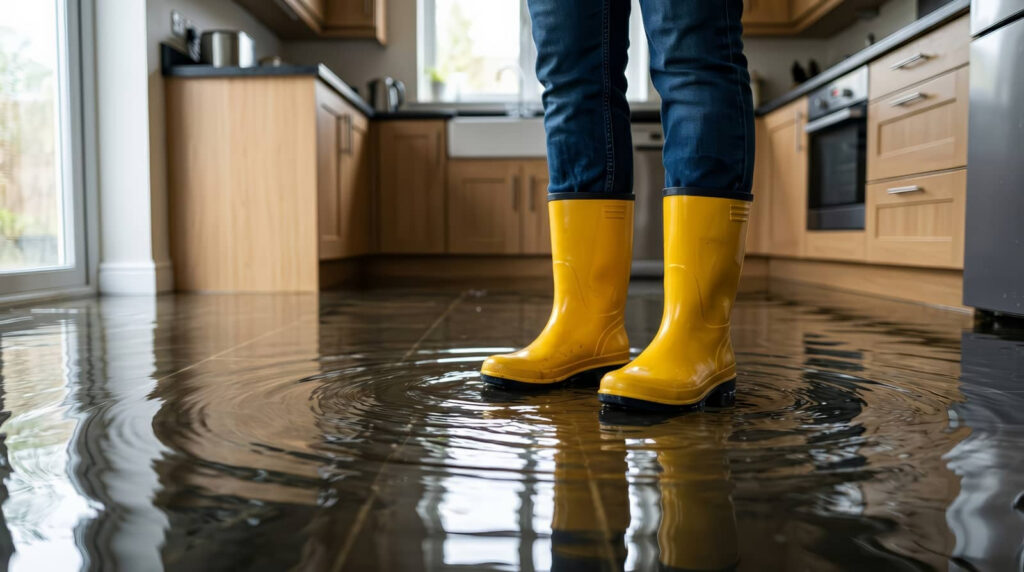
Put on boots, gloves, and eye protection before you enter the area. Keep children and pets away, and don’t use wet electrical devices.
Open doors and windows for ventilation if conditions allow. These safety measures reduce shock, slip, and contamination risks while you assess the room.
Stay calm, work methodically, and focus on protecting yourself and the people with you.
Document Water Damage for Insurance Claims
Take clear photos of every affected area, including walls, flooring, furniture, and visible mold or staining, before you clean or move anything.
Keep a written record of the date, extent of the damage, and any temporary fixes you make.
Save all receipts and contractor estimates so you can support your insurance claim with documented repair costs.
Photograph Damage Thoroughly
A clear visual record can make or break an insurance claim, so photograph every affected area before you move, clean, or discard anything. Use wide shots first, then close-ups that show texture, staining, warped surfaces, and standing water.
Vary photograph angles to capture ceilings, walls, floors, baseboards, and hidden corners. Use lighting techniques that reduce glare and reveal detail; open blinds, turn on lights, and use flash only when needed.
Include date stamps if your camera allows it, and keep each image sharp and uncropped. Photograph damaged belongings beside the source area so the connection is obvious.
Stay methodical and consistent; your documentation helps your team, your adjuster, and you stay aligned throughout cleanup and recovery.
Record Repair Costs
Track every cleanup expense from the start so you can support your insurance claim with clean, defensible records. You’ll protect your repair budgeting and keep expense tracking simple when you log each invoice, receipt, and labor charge as soon as you get it.
Save contractor estimates, material lists, equipment rentals, and emergency service fees in one folder. Note dates, vendor names, payment methods, and job descriptions so your adjuster can verify the timeline fast.
- Photograph each receipt before you file it.
- Record totals in a spreadsheet or app.
- Separate temporary fixes from permanent repairs.
- Match costs to damage locations.
When you stay organized, you’ll feel in control and backed by a team that knows how to document loss correctly.
Begin Water Damage Cleanup Right Away
Begin water damage cleanup right away to limit structural deterioration, mold growth, and material loss. You should activate your emergency response plan immediately and take immediate actions to stabilize the affected area.
Contact your trusted restoration team, notify your insurer, and document visible damage with photos and notes. Protect intact rooms by isolating the impacted space and controlling access.
Shut off utilities only if conditions make it safe and you know the system layout. Keep children, pets, and occupants away from compromised surfaces.
Act quickly, because delays let moisture spread through framing, drywall, and finishes. When you move fast, you join other prepared property owners who reduce losses and regain control sooner.
Clear communication, fast decisions, and disciplined follow-through keep your cleanup organized and effective.
Remove Standing Water and Wet Materials
Pump out standing water as soon as you can, then remove wet materials that can’t be dried effectively. You’ll protect your space and support the crew by acting fast with water extraction and moisture control.
Work methodically and keep the area clear for safe access.
- Shut off power to affected zones before you enter.
- Use pumps, wet vacs, or a squeegee for water extraction.
- Pull out soaked rugs, padding, cardboard, and insulation.
- Bag debris, label salvageable items, and move them to a dry staging area.
You’re part of the response team now, so stay organized and document what you remove.
The faster you clear standing water and unsalvageable materials, the easier it’ll be to limit spread and keep cleanup on track.
Dry Walls, Floors, and Hidden Moisture
Set up air movers and dehumidifiers right away to dry walls, floors, and concealed cavities before mold can spread. You’ll want steady airflow across baseboards, trim, and flooring seams, plus low humidity to pull moisture out fast.
Use moisture detection tools to check damp spots in drywall, subfloors, and wall insulation, especially near corners, outlets, and plumbing runs. If readings stay high, keep equipment running and open access points so hidden pockets can vent.
Lift carpet edges, remove toe kicks, and monitor progress daily. Rotate air movers as needed to reach every surface.
You’re not doing this alone; your crew can stay coordinated by tracking readings, drying targets, and room conditions until materials return to a safe, stable level.
Inspect for Mold After Water Damage
After you dry the area, inspect for mold growth signs like discoloration, musty odors, and surface spotting.
Check hidden moisture areas behind walls, under flooring, and inside cabinets, since mold can start there before you see it.
If you find any suspect areas, document them and plan immediate remediation.
Mold Growth Signs
When water damage lingers, you should inspect for mold right away because growth can begin within 24 to 48 hours. You’re protecting your crew, your home, and your plan for mold prevention.
Watch for these signs:
- Musty odors that persist after drying.
- Visible spots or patches on walls, ceilings, baseboards, or flooring.
- Warping, peeling paint, or bubbling finishes that suggest microbial activity.
- Health risks like coughing, headaches, or irritated eyes that worsen indoors.
Act fast if you notice any of these indicators. Keep airflow moving, remove wet materials, and document what you see.
If the area keeps smelling damp or symptoms continue, bring in a qualified inspector. Quick action helps you stay ahead of damage and keeps your space safer for everyone.
Hidden Moisture Areas
Even if surfaces look dry, hidden moisture can stay trapped in wall cavities, under flooring, behind cabinets, and inside insulation, creating ideal conditions for mold.
You need moisture detection tools, not just visual checks, to find damp pockets before they spread. Scan baseboards, window frames, plumbing chases, and ceiling voids for hidden leaks, then mark every suspect area.
Pull back trim, lift loose flooring, and inspect behind appliances where water often lingers. If readings stay elevated, dry the space fast with airflow and dehumidification.
Join others who take a thorough approach: your checklist should include rechecks after 24 and 48 hours.
When you catch concealed moisture early, you protect the structure, reduce mold risk, and keep your cleanup team confident and on track.
Repair Damage From Storms, Pipes, and Ceilings
Begin repairs only after you stop the water source and fully document the damage. You’re part of a capable crew when you tackle storm, pipe, and ceiling repairs methodically. Use these steps:
- Remove damaged drywall, insulation, and flooring until you reach sound material.
- Dry framing, subfloors, and cavities with dehumidifiers and airflow.
- Replace failed pipe insulation, seal joints, and restore ceiling maintenance with new fasteners and tape.
- Patch storm openings, set flood barriers where needed, and verify storm preparedness supplies.
Match materials to the original assembly so your repair stays stable. Check for sagging, staining, or soft spots, then cut back farther if needed.
Keep tools clean, wear PPE, and coordinate with your team to avoid missed damage.
Prevent Future Water Damage and Leaks
After cleanup and repairs, you can reduce repeat damage by inspecting and maintaining the systems that most often fail.
Check supply lines, shutoff valves, appliance hoses, roof flashing, gutters, and caulking every season. Replace brittle hoses, tighten fittings, and test sump pumps before heavy rain.
Seal basement cracks with approved waterproofing techniques, and install moisture barriers where slabs, crawl spaces, or walls collect humidity.
Keep indoor humidity between 30% and 60% with ventilation and dehumidifiers. Grade soil away from your foundation and extend downspouts well beyond exterior walls.
If you live in a community with shared walls or aging plumbing, coordinate inspections with neighbors and building managers so everyone stays protected together.
Small maintenance steps now help your space stay dry, safe, and ready.
Frequently Asked Questions
How Quickly Does Mold Start Growing After Water Damage?
Mold can start growing within 24 to 48 hours after water damage. You’ll want to dry materials fast, remove wet items, and use prevention tips like ventilation and dehumidification to stop mold growth.
Should I Call My Insurance Company Before Cleaning Up?
Yes—call your insurance company first, like sending a lighthouse signal before the storm worsens. You’ll protect insurance claims, confirm coverage, and align cleanup priorities. Then start drying, documenting, and salvaging, so you’re not cleaning blind.
Can I Use Household Fans to Dry Wet Walls?
Yes, you can use household fans, but fan effectiveness for wall drying is limited. You’ll improve airflow, yet hidden moisture may stay trapped. Use fans with dehumidifiers, and check walls for swelling or odor.
How Do I Know if Water Damaged Electrical Outlets?
You’ll notice water-damaged outlets by discoloration, warmth, buzzing, or tripped breakers; 60% of electrical fire injuries start nearby. Prioritize water safety, and schedule an outlet inspection before you use them again.
When Is Professional Water Damage Restoration Necessary?
You need professional water damage restoration when water’s contaminated, hidden, or widespread, or if structural materials soaked through. Experts use emergency response and restoration techniques to prevent mold, protect belongings, and restore safety.
Review
When you finish this checklist, you do more than clean up water—you reset your property’s safety. If you stop the source, document the damage, dry hidden moisture, and inspect for mold, you reduce today’s loss and tomorrow’s risk. The small steps often line up: quick action, better repairs, fewer surprises. That coincidence isn’t luck; it’s good process. Keep monitoring leaks, humidity, and weak points so your space stays dry, stable, and ready.
Recent Posts
What Is 24 Hour Water Damage Cleanup?
If you’re dealing with a water emergency, 24 hour water damage cleanup gives you immediate
Ceiling Leak Mold Inspection Report Guide
If you’re dealing with a ceiling leak, you need to know how mold can develop,
5 Tips for Mold Inspection Reports
When you review a mold inspection report, you need to check more than just the